Setting Up R and RStudio
Introduction
We will be conducting the majority of our data analysis with R and RStudio this semester. Briefly, “R” is the programming language we’ll use for loading data, reshaping objects, and performing our analyses. “RStudio” is an integrated development environment that makes using R way more pleasant and convenient.
There will be a detailed introduction to R in another module. For now, let’s just get R and RStudio set up on your computer.
Setting Up the Software
There are two options for setting up these two pieces of software. The first is the one I would strongly recommend: installing the software on your computer (local installation). The second is an alternative in case you don’t have regular access to the same computer or the ability to install software on it; in that case, you can use your web browser to execute RStudio remotely (cloud option).
Local Installation (Recommended)
There are many advantages to installing R locally. Two of the main reasons are that (1) you can store everything securely on your local computer and (2) it just tends to run much faster than the current remote options.
If you want a local installation, start by downloading the latest version of R for your system:
-
If you’re on Windows, you can download R by going to this page. Select “Download R [version] for Windows”. Then, open the .exe file you downloaded and follow the installation instructions that appear on your screen. All of the default settings should be okay.
-
If you’re on macOS, you can download R by going to this page. Select the first entry under “Latest Release” (“R-[version].pkg”). Then, open the .pkg file you downloaded and follow the installation instructions that appear on your screen. All of the default settings should be okay. (Note: You may need an older version of R if your version of macOS is a bit older. If the installation fails, look for the section “Binaries for legacy OS X systems” on that same page. Download the .pkg that corresponds to your operating system.)
-
If you’re on Linux, you can use your package management system to download R. (It should be available on most distributions.) For more information, you can go to this page.
Once you have installed R, you should download the latest version of RStudio Desktop for your operating system. The free, “Open Source License” version of RStudio is perfectly suitable for our purposes, so just select the link that corresponds to your operating system in the table under “All Installers.” As with the above, just open the file you downloaded and follow the instructions on your screen. All of the default settings should be okay.
For best results, install R before RStudio (after all, the latter is the one that depends on the former) and keep the default installation options as they are.
Cloud Option (Not Advised)
RStudio also offers free access to its RStudio Cloud product. It is a ‘freemium’ product, meaning that there is a fully featured free version that you can use, provided you can live with the limitations (e.g., a maximum number of projects and monthly ‘project hours’).
RStudio Cloud is nifty because you can access it anytime, and on any modern computer with an internet connection. This allows you to switch computers and have access to the same environment. The main downsides are that (1) it is considerably slower than most local installations, (2) has certain restrictions that may limit the size of the datasets you can work on, and (3) and some packages might not work as expected. However, it has served some of my past students well.
I will not be offering technical support for this option but their documentation is sufficiently robust to help you get started. Once your environment is set up, it should look and operate very similarly to what a local installation would offer. Put another way, you should be able to keep up with this book via the free option.
Loading RStudio
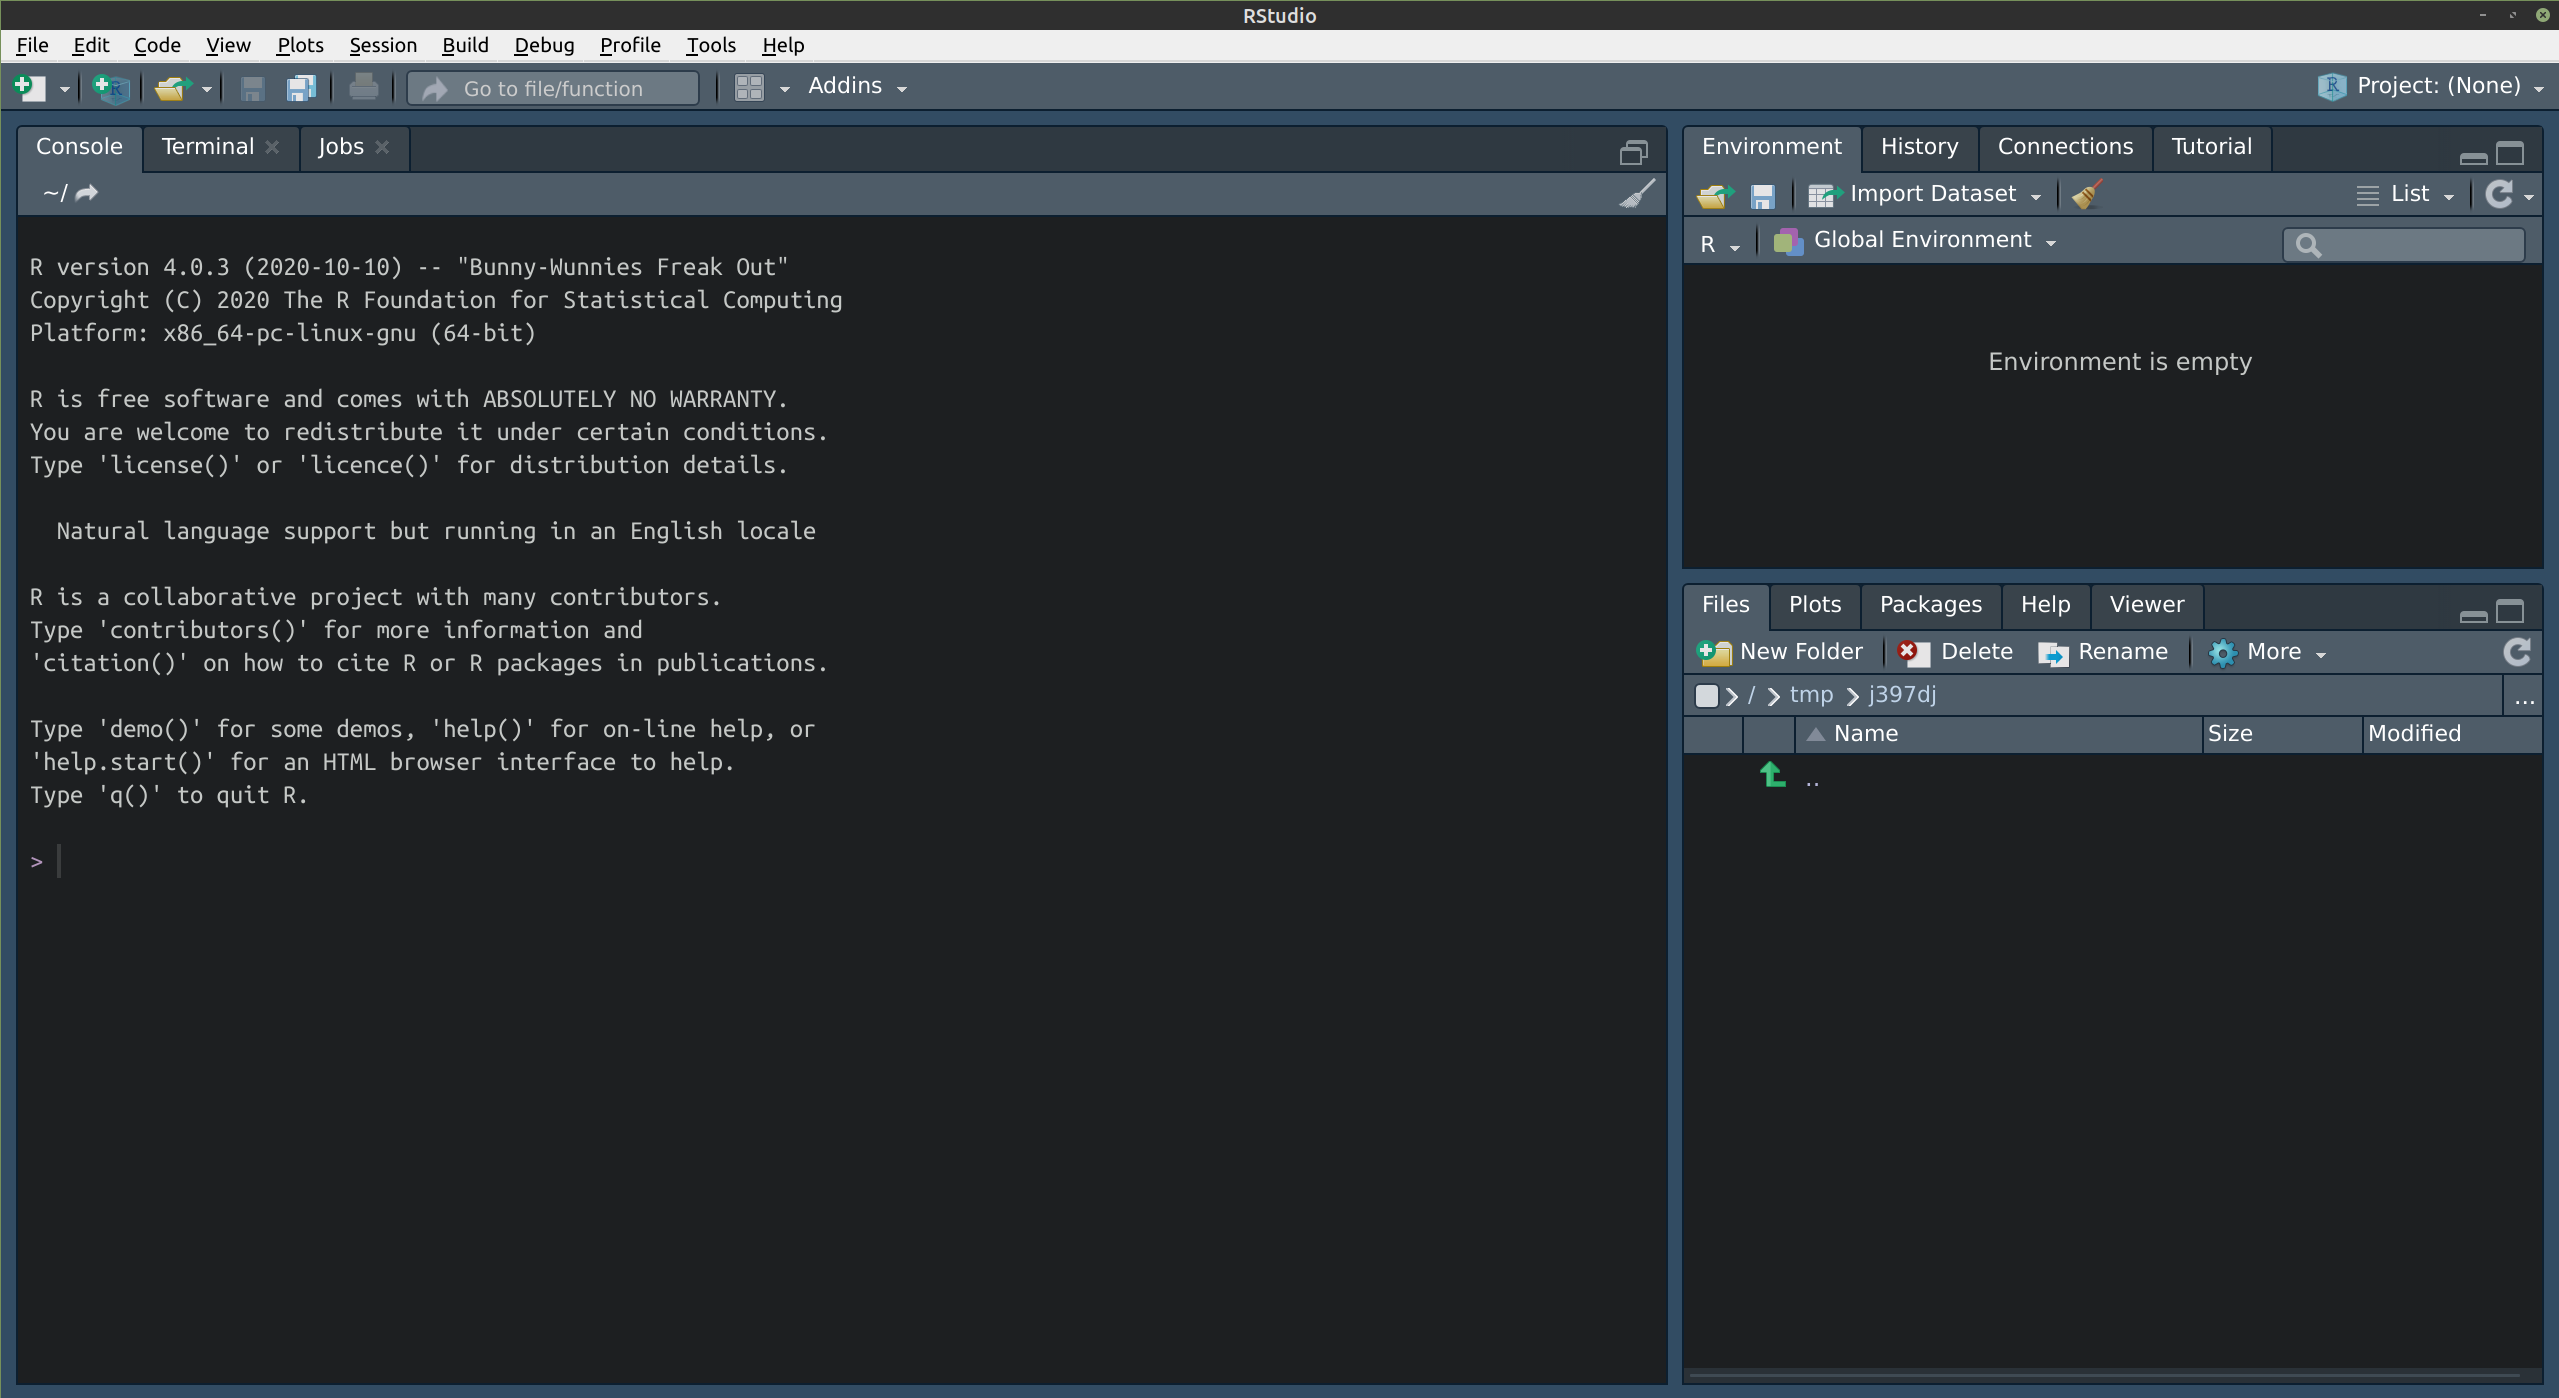
When you load RStudio, you’ll be presented with an interface that has three major panes:
-
In the tall left pane, you’ll have the
Console, which allows you to execute R commands directly and shows the results of those commands. -
In the top-right pane, you’ll find the
Environmenttab, which shows the different data and objects currently loaded. (It will be empty at first because we haven’t loaded any data or created any objects yet.) It also has a History tab that allows you to revisit the commands you previously executed. -
In the bottom-right pane, you’ll have access to a host of very useful features. The first tab,
Fileslists the file and folder structure of any directory on your computer. (Think of it as a “Finder” [macOS] or “Explorer” [Windows] window for browsing files. By default, it starts with your project directory.) The second tab,Plots, is where diagrams or data visualizations might appear if you create them using R. The third tab,Packages, allows you to see, update, and install packages (modules) that extend R’s functionality. The fourth tab,Help, offers a robust help system for R — and it is worth noting that although they can seem confusing at first, R’s functions are incredibly well-documented, and you’ll find yourself using that tab quite often in the coming lessons.
Customizing RStudio
Chances are your interface looks a little different from the one in the screenshot above. That’s because I have customized my interface a bit to suit my preference for a dark theme. You can change your settings by going to the “Tools” menu item (very top of the screen), and selecting “Global Options.”
Some of the options I like to change are:
-
Code → General → Soft-wrap R source files → checked
-
Appearance → Editor Font Size → 12
-
Appearance → Editor Theme → Tomorrow Night
Play around with the options until you feel comfortable with the way things look and feel. You’ll be spending a lot of time with RStudio! (And you can always reset your RStudio settings if you don’t like the changes.)
Installing and Updating Packages
R comes with a number of very useful functions (such as mean() to calculate the mean from a bunch of numbers). However, we can also add functionality to R by installing new modules (called packages) that give us access to specialized functions that make our lives much easier. I will tell you when to you’ll need to install a new package for a tutorial or activity, but let’s try installing our first package now.
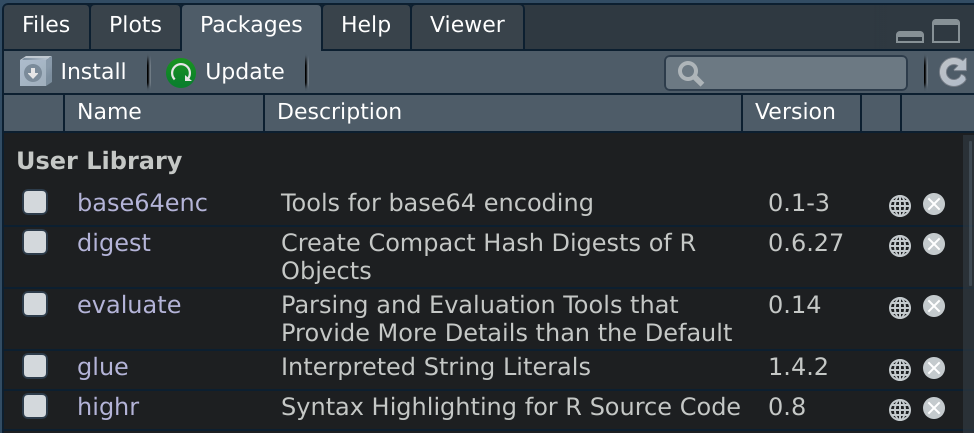
To install a package, just go to the bottom-right pane and select the Packages tab. You should see a listing of the packages currently installed on your system. To install a new package, click on the Install button:
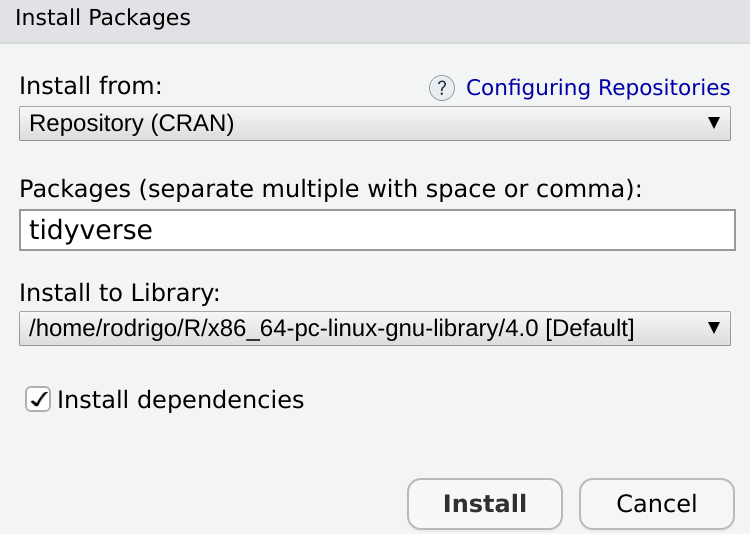
A new window will pop up. Just type in the name of the package you want to install in the text box under “Packages” and hit Install. (You can leave all of the other settings untouched.) For example, let’s try installing the tidyverse package, which we will regularly use in this book:
You can also install packages by typing the following bit of code in the Console: install.packages("[PACKAGE NAME]").
For example, we can install tidyverse thusly: install.packages("tidyverse")
You will see a bunch of commands appear in your Console while the package is downloaded and installed. Most of it won’t make sense to you, and that’s okay. However, that output will prove handy if you run into trouble installing a package. In such cases, look for a line that says “error” and copy and paste it into a search engine to see how others have solved the issue.
It is also good practice to periodically update all of the packages you have installed in R. You can do that by simply clicking the Update button within the Packages tab and pressing OK in the window that pops up. Updates will correct errors (including mathematical errors people might encounter) in packages and add new functionality, so it’s generally good to stay up-to-date.
Next steps
We’ll slowly cover the different features in this powerful program throughout this book. However, here’s a handy “cheatsheet” for the different options available in this main interface of RStudio.